Photo Editor
Photo editor allows you to add a variety of cool aesthetic effects to your photos.
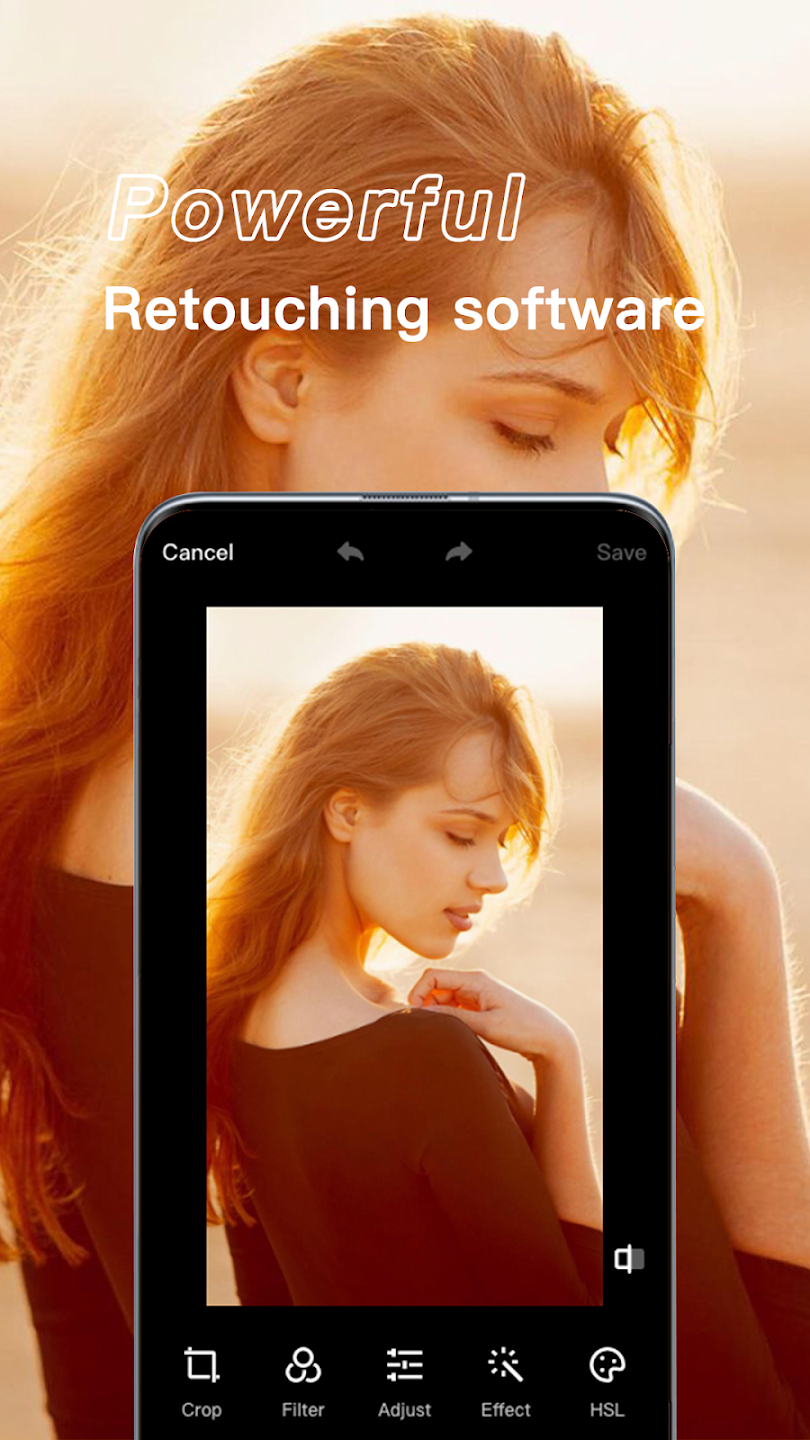
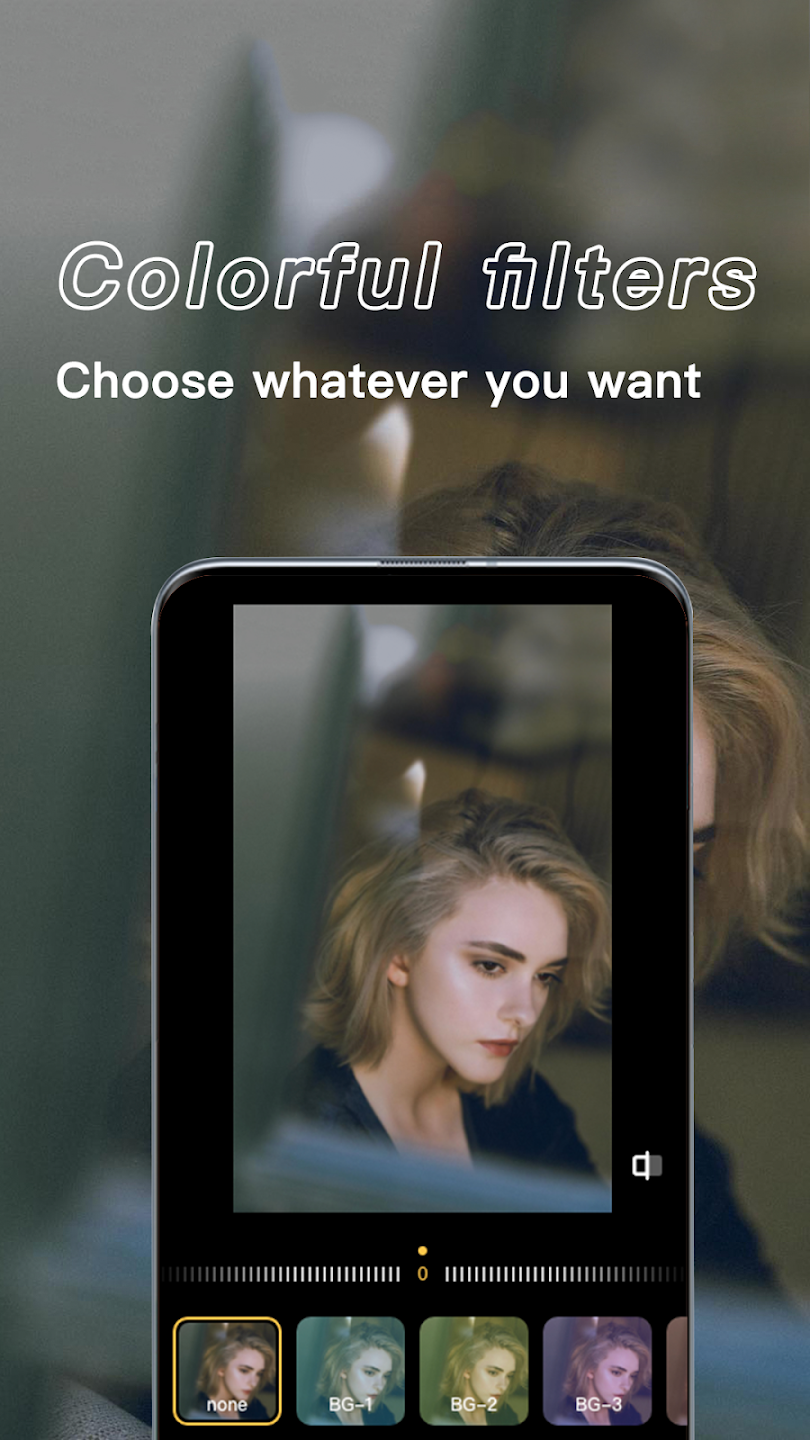
Photo editor allows you to add a variety of cool aesthetic effects to your photos.
The photo editor has advanced blur image brush functionality. It can be used to blur certain parts of a photo to get a DSLR blur effect.
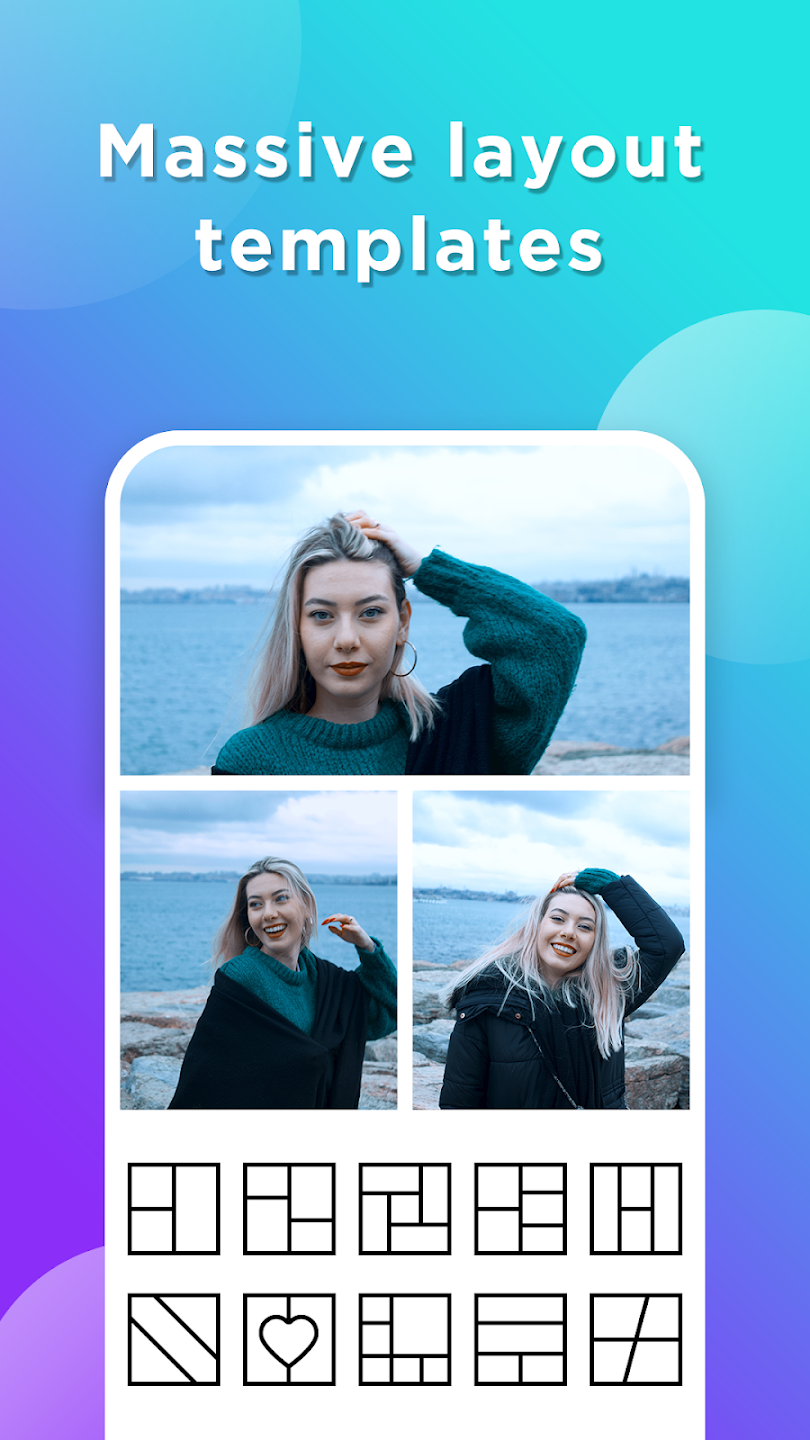
Just select a few pictures and the collage maker will rearrange them into a cool photo collage.
We provide a wide range of templates. Simply select and replace photos to create a beautiful poster-like creation.
You can select multiple photos to create an extra-wide or extra-long stunning image
Whether you're a creative enthusiast, social media influencer, or artist, we offer an outstanding platform for collage creation.
Powerful yet simple photo editing tools
Photo collage functionality with multiple layouts and backgrounds
Trendy photo filters and effects
Various artistic fonts
Adjust brightness, contrast, temperature, and saturation
Highlights and shadows
Sharpen and blur
Create photo collages using personalized templates
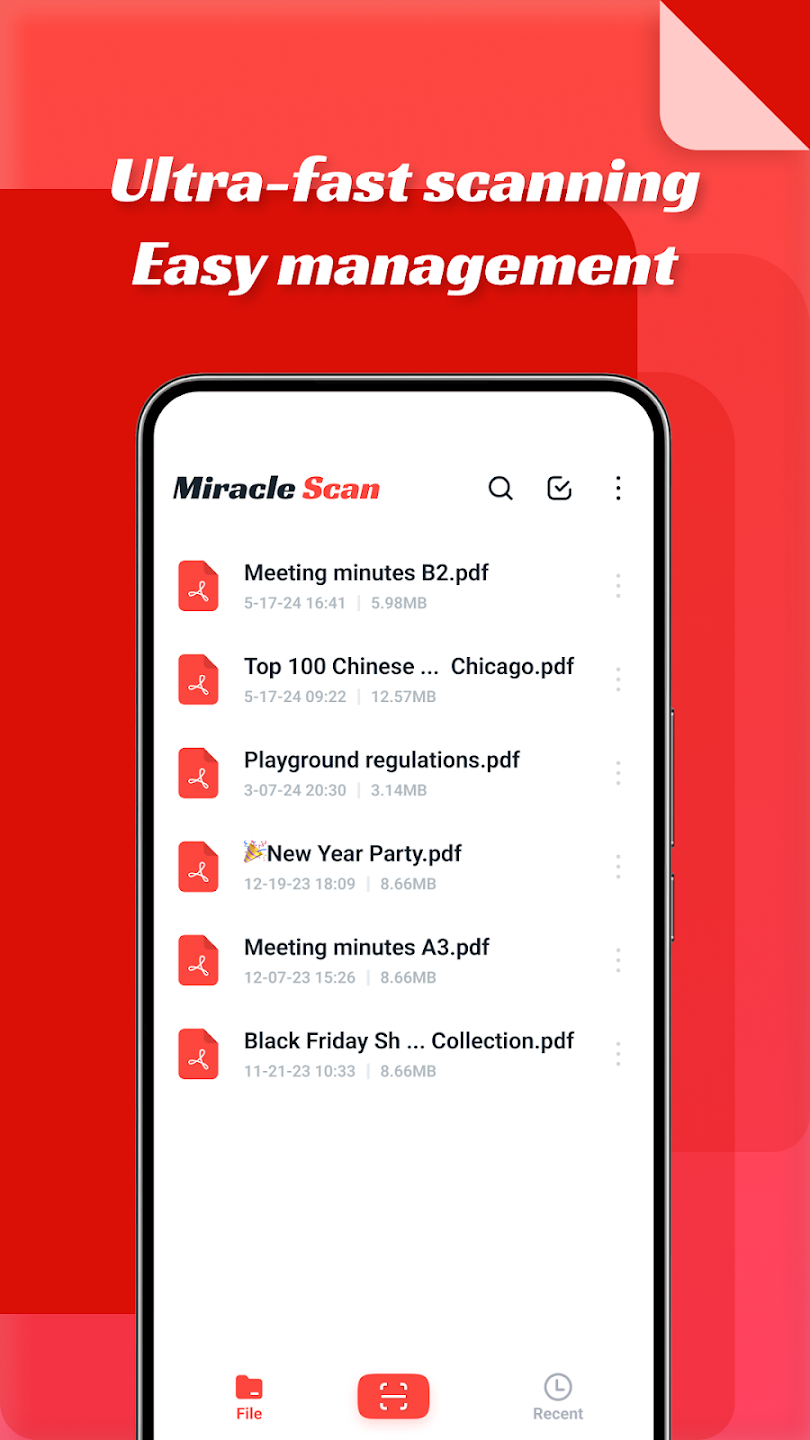
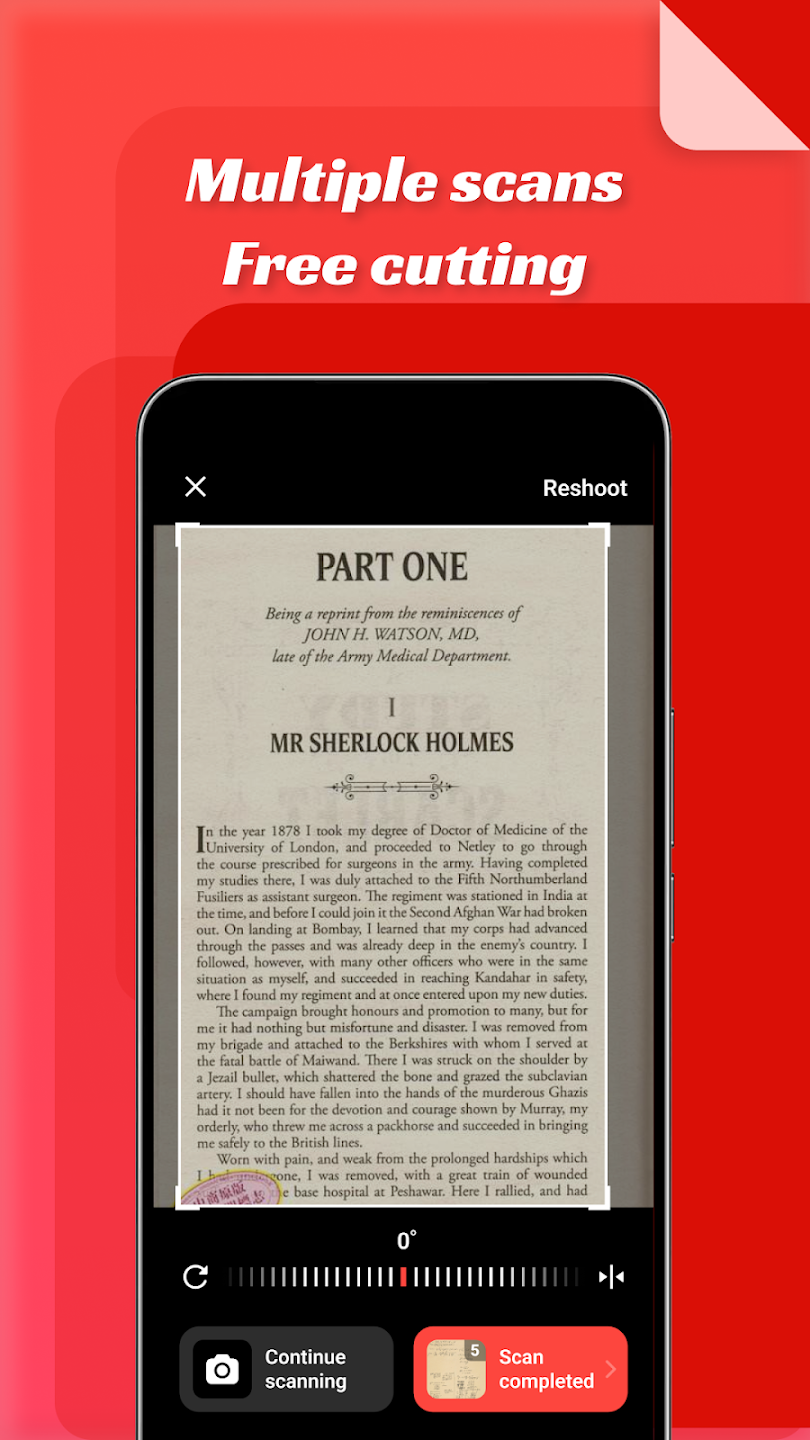
All-in-one scanner that fits in your pocket


We have developed a mobile app called ChatBot based on Chatgpt technology. The app allows users to use Chatgpt on their phones without needing to create an account or remember a password, making it easy to use.
Whether you want to know the latest news, weather, entertainment, sports, health, food, or any other topics, ChatBot will provide you with the most comprehensive answers and thoughtful suggestions. Chatgpt technology is at the forefront globally and can quickly identify and answer your questions, helping you gain more knowledge and fun in your leisure time.
Photo AI utilizes advanced AI technology to easily restore and enhance old, damaged or blurry photos, making your precious memories look like new.
Using AI technology, Photo AI easily repairs damaged photos and restores blurry or low-resolution images with just one click.
Transforms your photos into the popular American comic style, adding fun and amusement.
Uses AI technology to make your photos dynamic and interesting.
Beautifies your portrait photos by enhancing facial features, presenting your natural beauty in unprecedented ways.
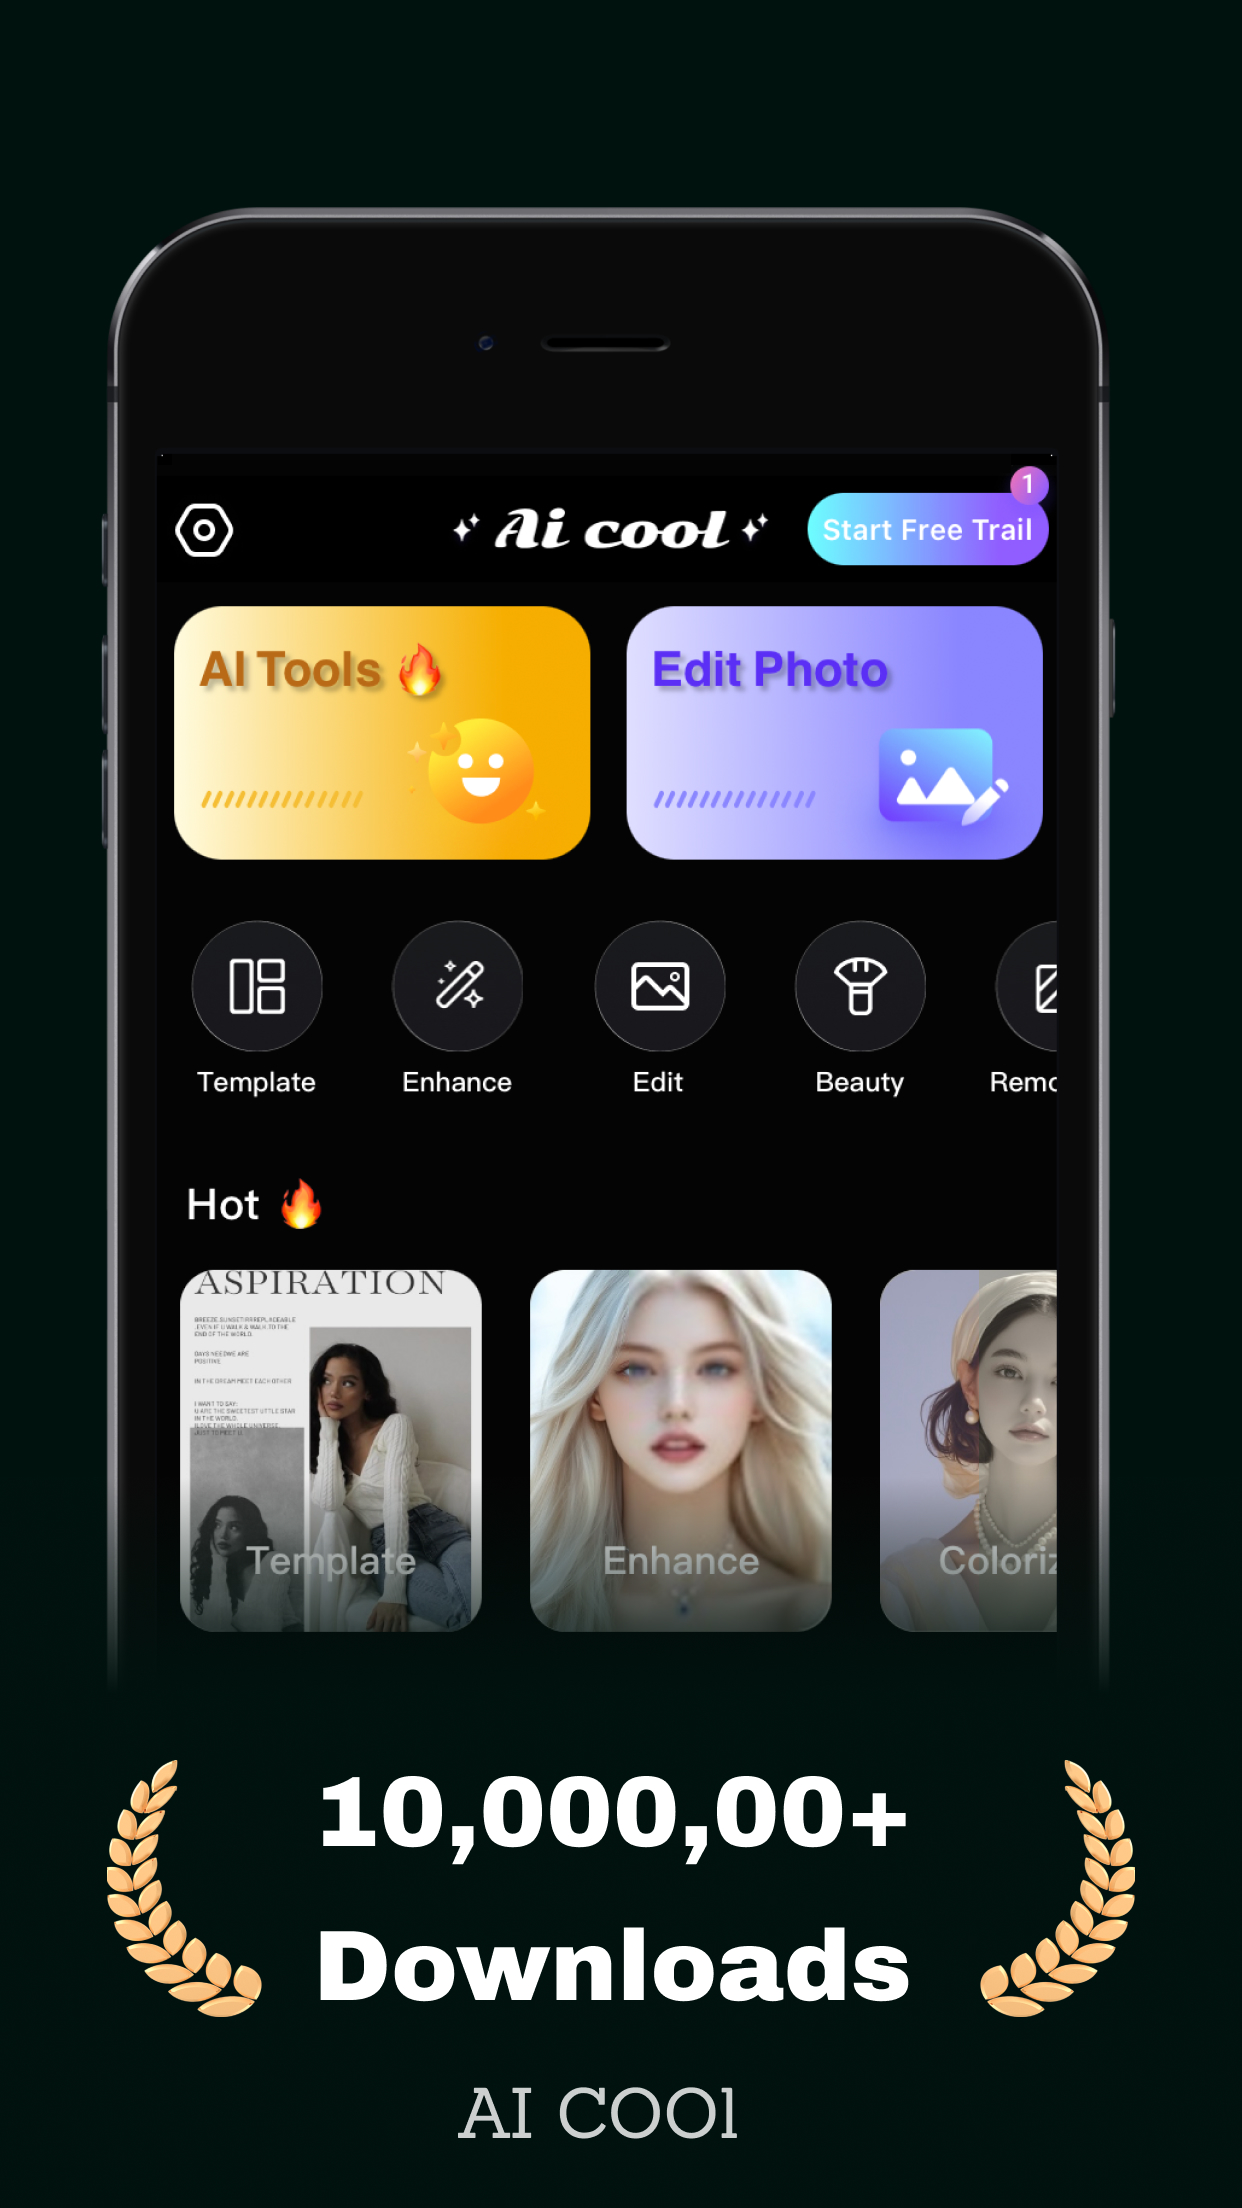
Unleash your creativity with our cutting-edge image editing app that puts a powerful suite of tools right at your fingertips.
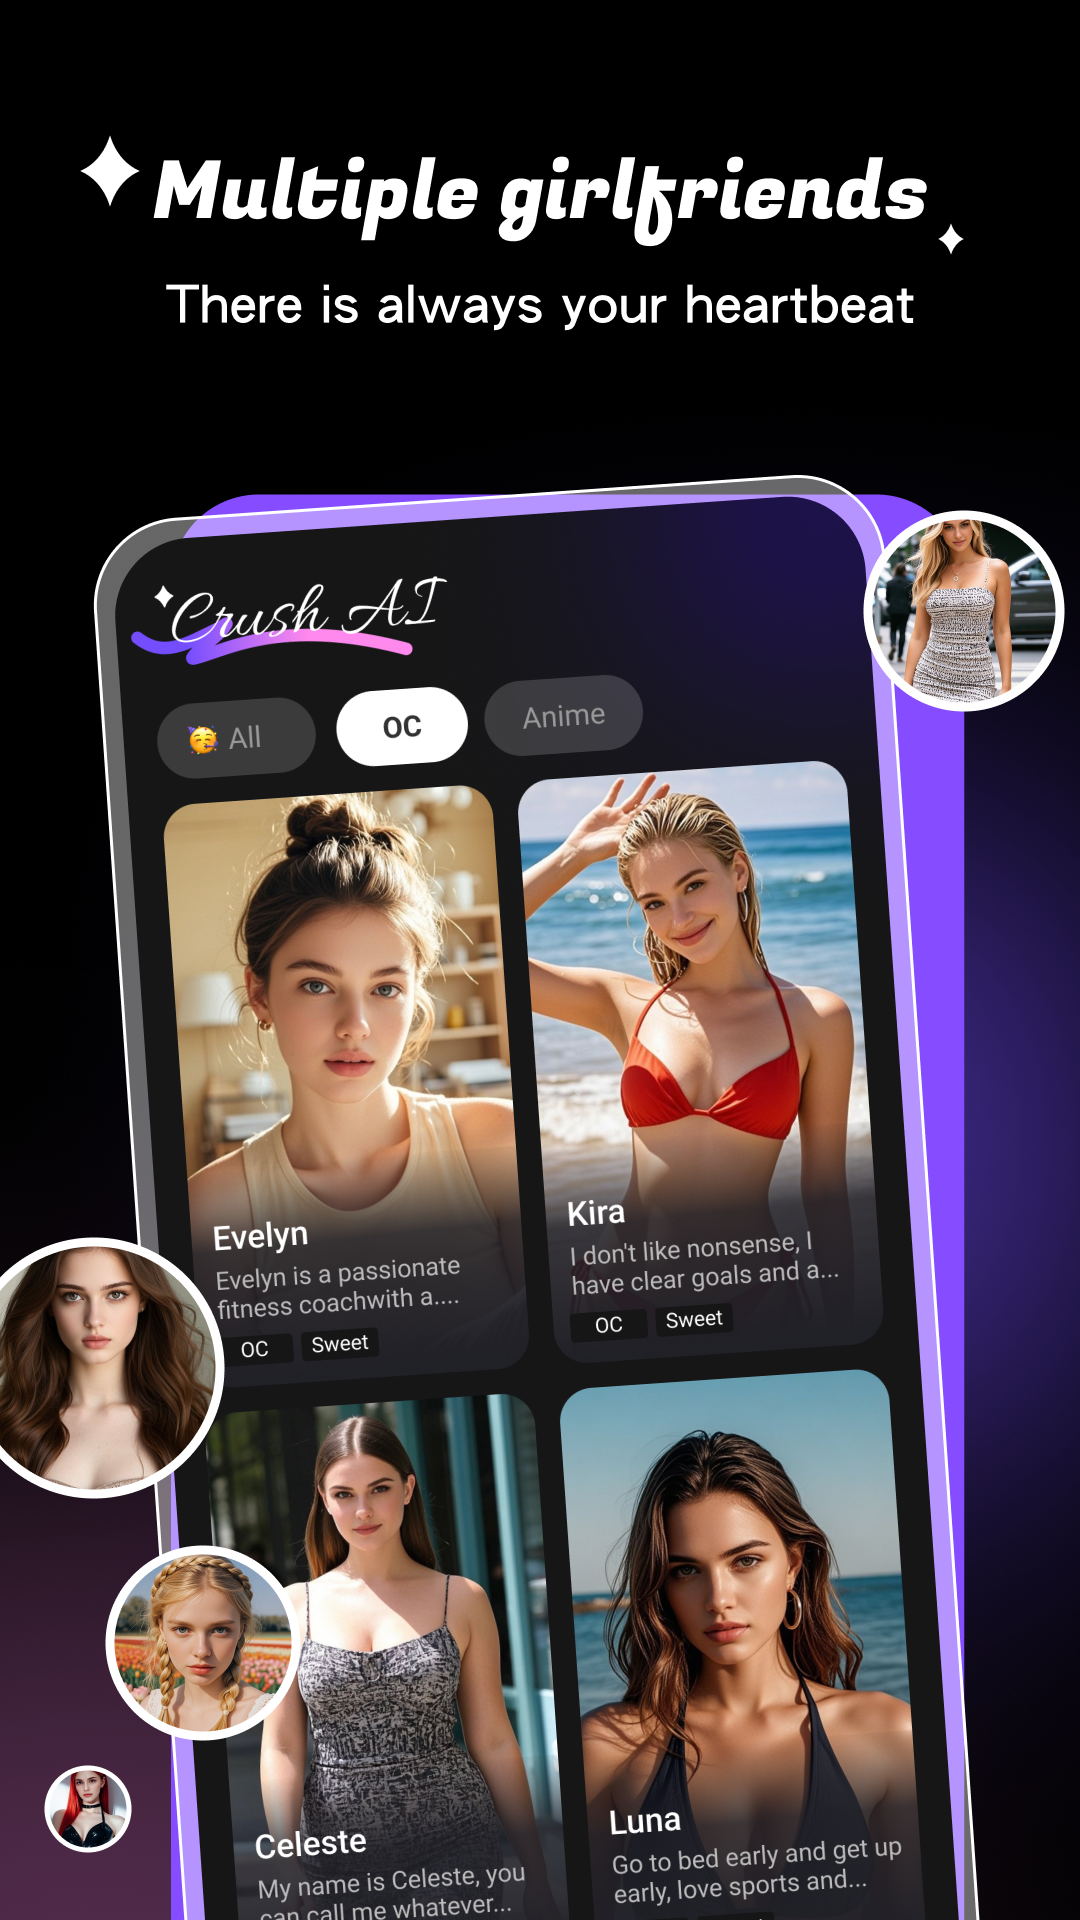
Tired of boring conversations?
Want a sweet, caring AI girlfriend who's always there for you?
Experience Crush AI — the virtual partner app designed just for you. Let the spark begin and never wait for love again!
Otomatis file tersebut akan terbuka seperti layaknya Anda memasukkan kepingan CD ke dalam komputer (biasanya muncul di Drive Baru seperti Drive E:, F:, atau G:). Langkah 2: Proses Instalasi Software Masuk ke dalam Drive Virtual hasil mount tadi.
Centang juga opsi di bagian bawah. Klik Apply kemudian klik OK .
Mount this ISO file whenever you need to run the software, as it acts as the "Graphic Disc" the software expects. : cara install artcut 2009 tanpa cd fix
Buka folder atau Fix yang ada di folder download Anda.
Jika Anda mengunduh file Artcut 2009 dalam format arsip kompresi, lakukan ekstraksi terlebih dahulu. Klik kanan pada file ZIP/RAR Artcut 2009. Pilih atau Extract to folder . Otomatis file tersebut akan terbuka seperti layaknya Anda
Biarkan drive tersebut tetap terpasang ( mounted ) selama Anda menggunakan Artcut. Metode B: Copy Paste File Grafik (Paling Praktis)
: Driver USB-to-Serial mesin cutting plotter Anda (misalnya CH340 atau FTDI). Langkah-Langkah Install Artcut 2009 Tanpa CD (100% Fix) 1. Ekstrak File Installer Digital Klik Apply kemudian klik OK
Ini adalah kendala paling umum. Artcut 2009 seringkali hanya mengenali port COM1 sampai COM4. Buka di Windows. Cari Port (COM & LPT) .
Iya. Yang dilakukan metode ini hanyalah membuka proteksi "Authorization Disc" saat startup . Semua fitur desain, editing, dan pemotongan akan tetap berjalan utuh.
Metode ini adalah fondasi paling dasar sebelum melakukan instalasi. Pastikan plotter Anda sudah terhubung dengan komputer melalui kabel USB sebelum memulai.
Jika dua metode di atas gagal, opsi terakhir yang bisa dicoba adalah mengganti file utama program ( Artcut6.exe ) dengan versi "crack" atau "no-CD fix". File ini adalah program utama yang sudah dimodifikasi sehingga tidak lagi memeriksa keberadaan CD. File ini biasanya spesifik untuk versi software tertentu dan mungkin tidak stabil. Gunakan metode ini dengan resiko Anda sendiri.

team@xphotokit.com